Home Assistant Add-on
Easiest path: install the ESPHome Add-on right from your Home Assistant Settings.
Fastest way - one click
If your Home Assistant instance is reachable from this browser, this button opens the ESPHome add-on page directly. Just click Install, then Start.
 Opens in your HA instance →
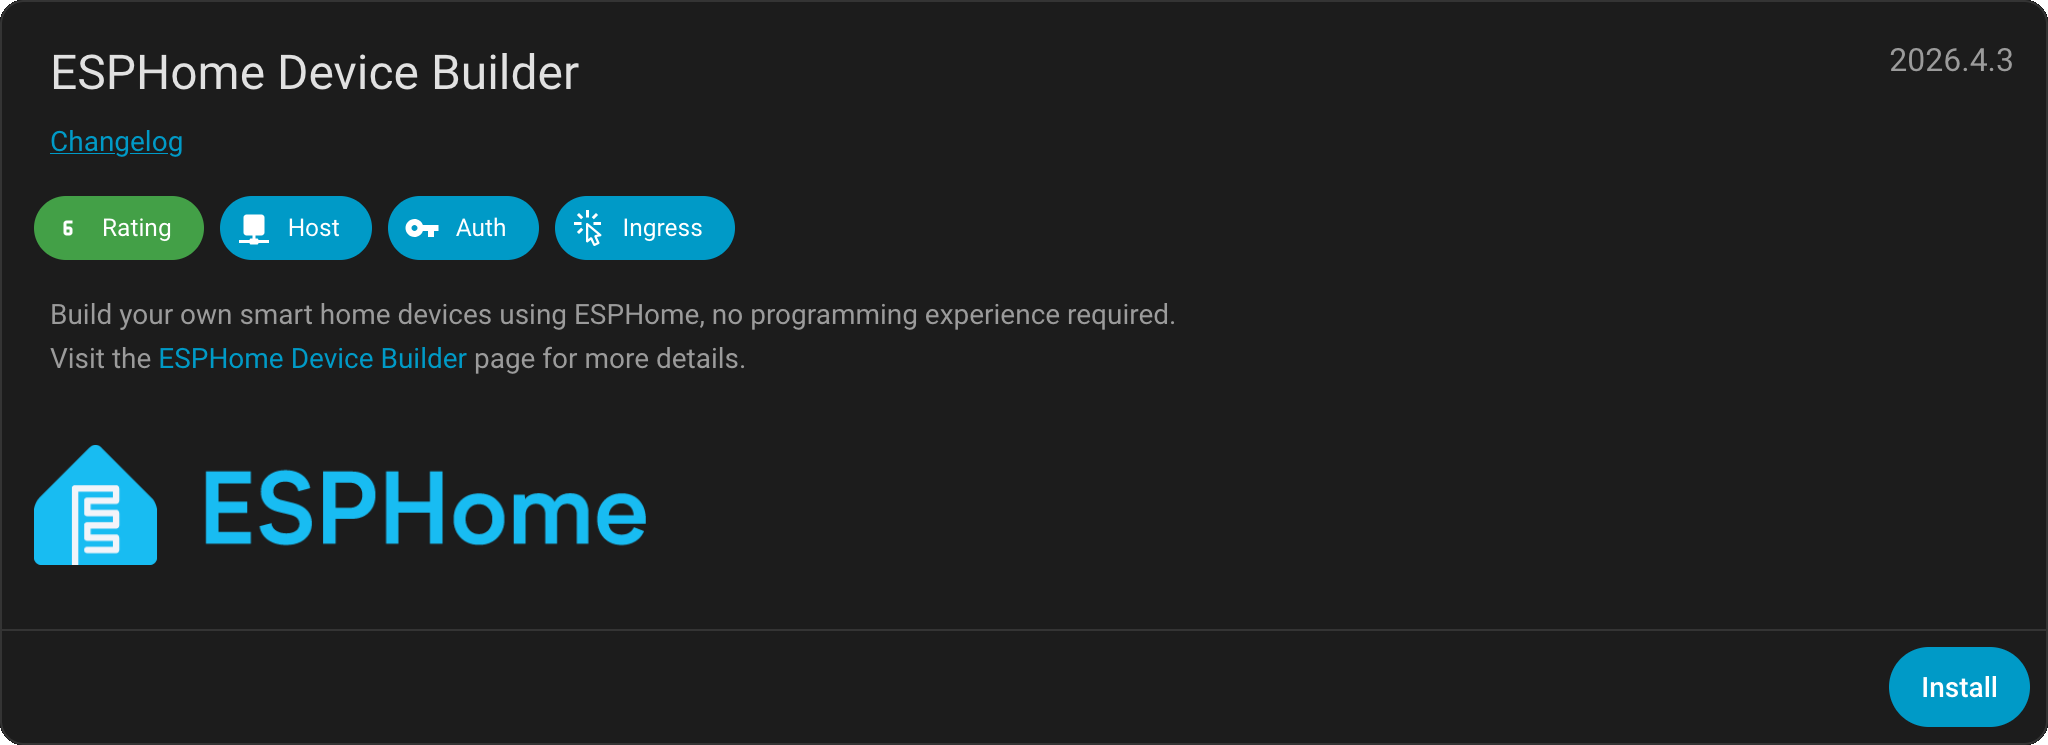
Manual install (if the button didn't work)
The button above requires My Home Assistant to be set up. If it didn't open anything, follow these steps instead.
Open Home Assistant Settings
In your Home Assistant interface, click the Settings icon at the bottom of the sidebar.
- •Works on any HA install: HAOS, Supervised, or Container with the Supervisor.
Go to Add-ons
Pick "Add-ons" from the Settings menu - this opens the Add-on dashboard.
Open the Add-on Store
Click the blue "Add-on Store" button at the bottom right of the screen.
Search for ESPHome and install
Type "ESPHome" into the search bar, click the matching tile, then click Install.
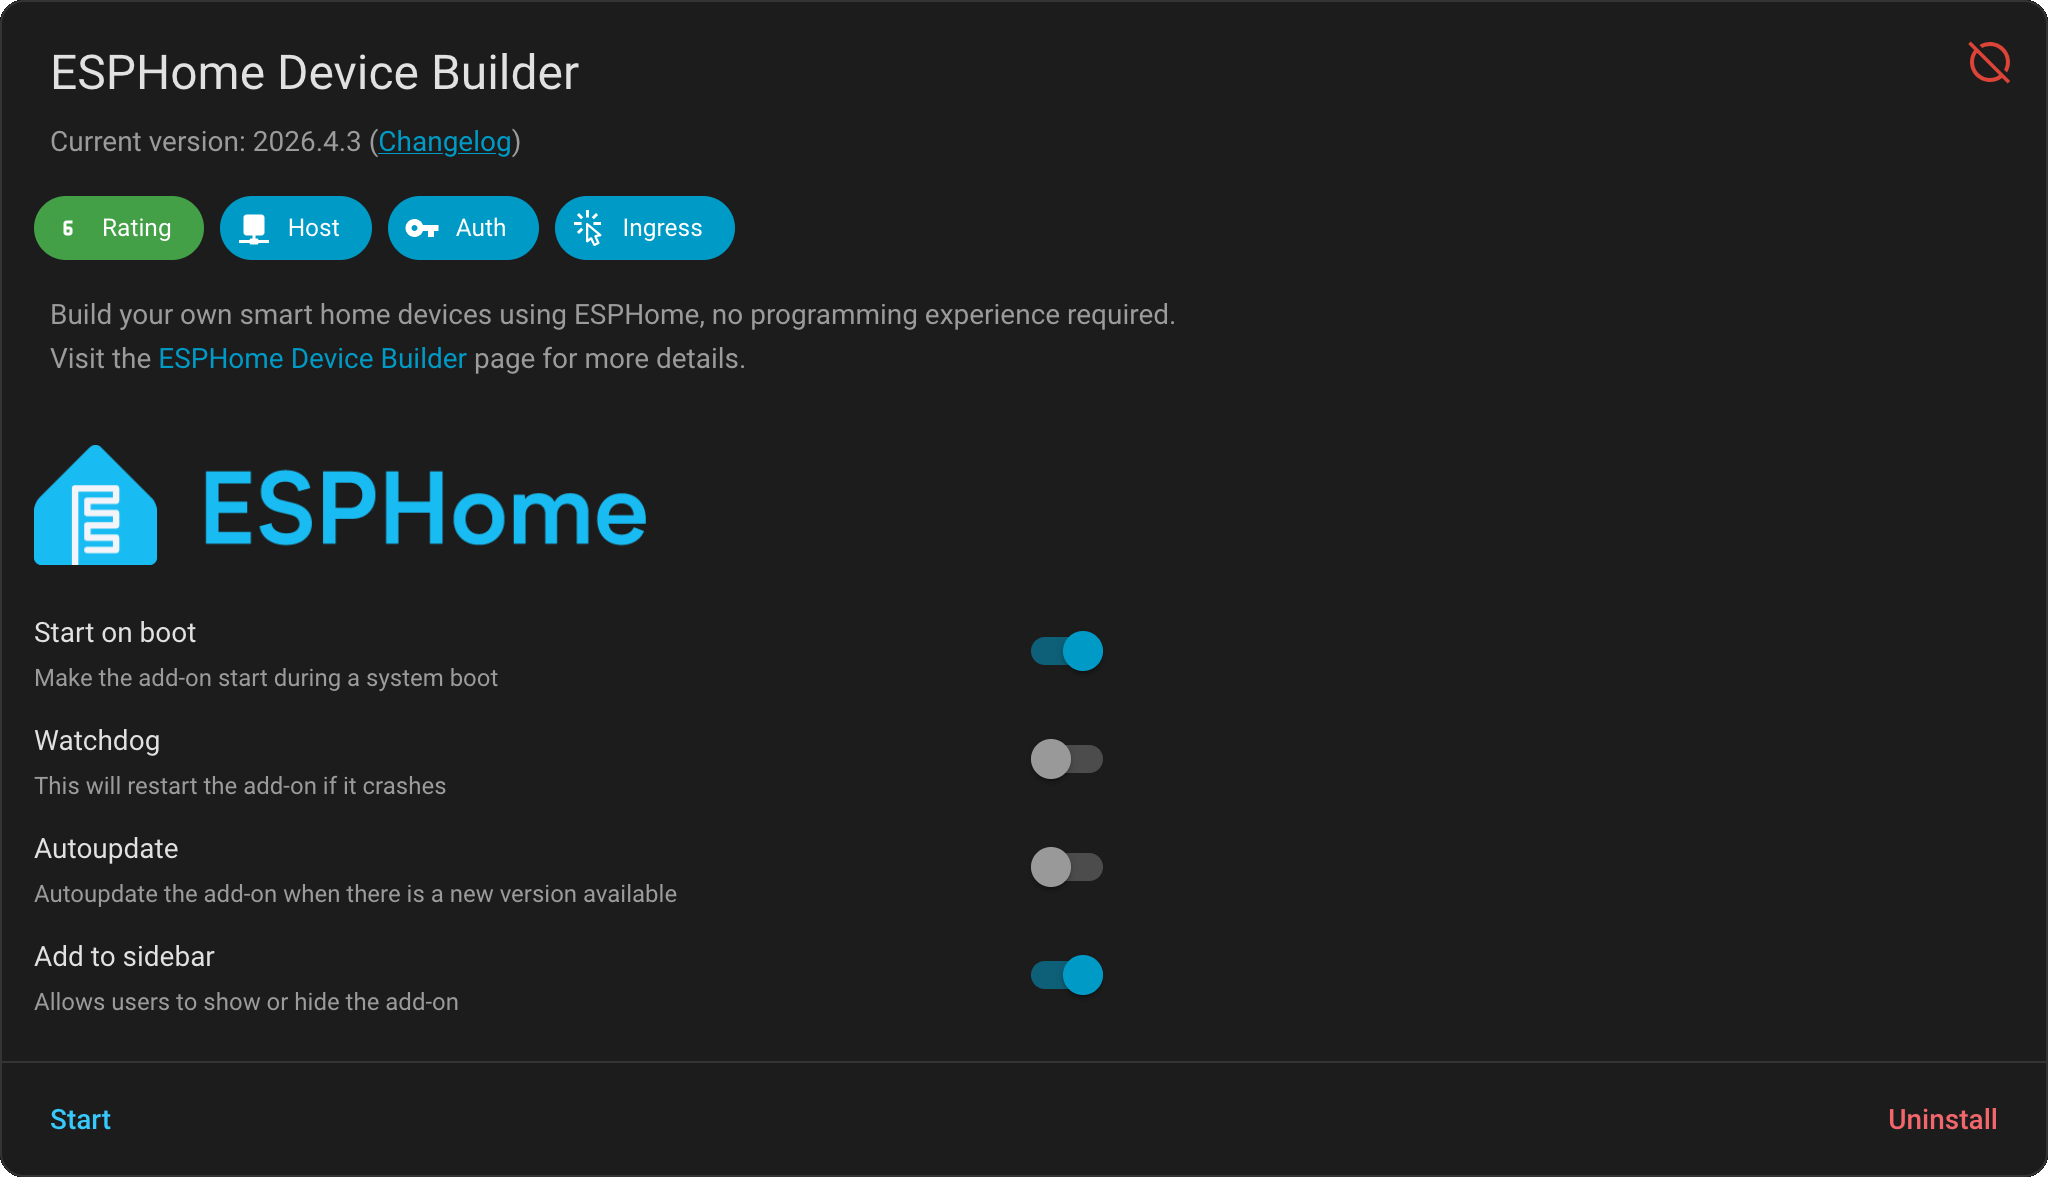
Start the Add-on and pin it to the sidebar
Toggle "Show in sidebar" and click Start. The first boot can take 30 seconds while the dashboard initialises.
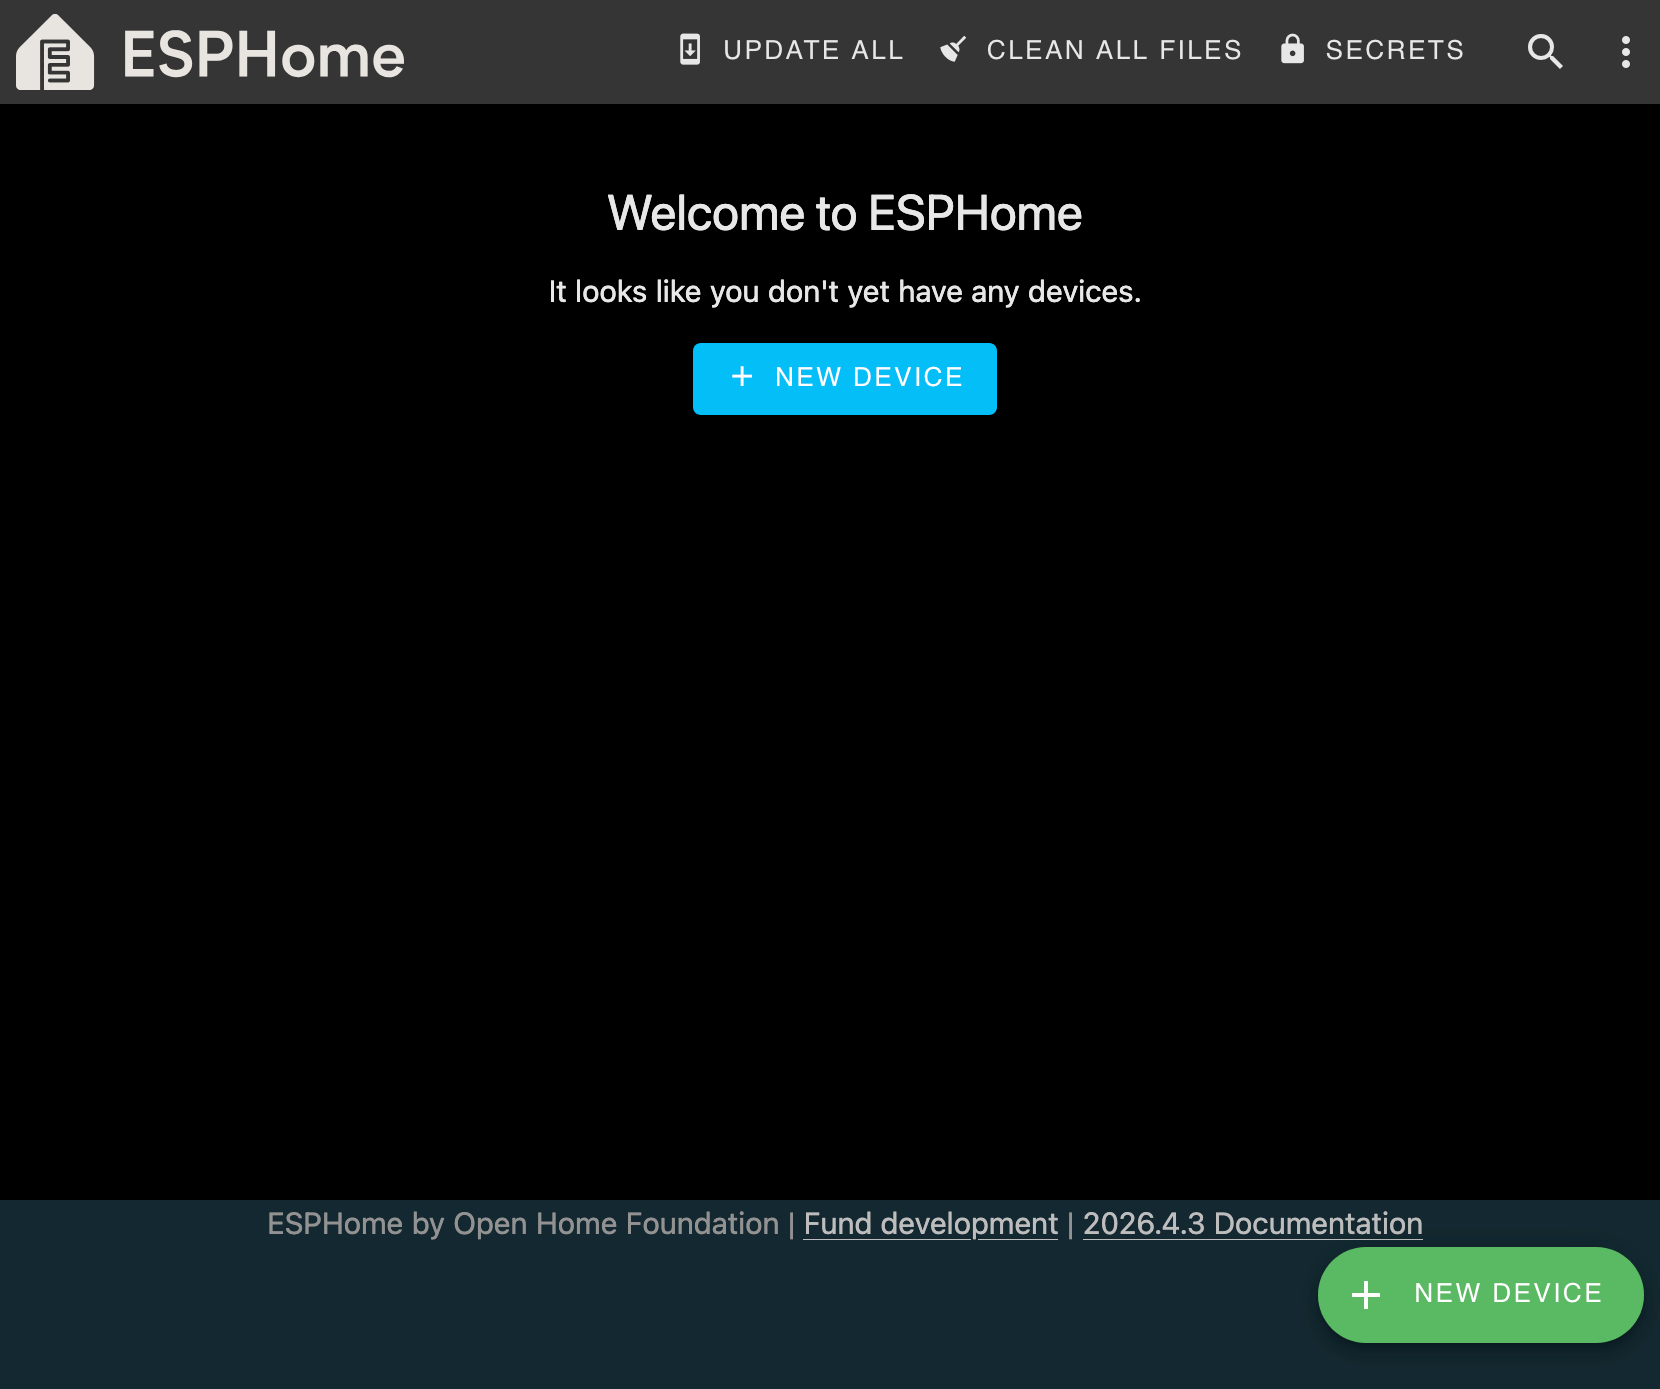
You should see
A new ESPHome entry in your Home Assistant sidebar. Clicking it opens the ESPHome dashboard with an empty device list and a "+ New device" button at the bottom right.
That dashboard is where you'll do everything for the rest of this guide - create configs, paste YAML, flash devices over USB or OTA, and watch logs.
Checkpoint - Is the ESPHome dashboard open in Home Assistant?
If yes - beautiful. The hardest setup step is already behind you.