Command Line (pip)
Install ESPHome with pip on Windows, macOS or Linux. Fast and scriptable.
Your operating system
Install Python 3.9+
Most distros already have Python 3. Just make sure python3-venv is installed too - it's needed for the next step.
# Debian / Ubuntu
sudo apt update
sudo apt install python3 python3-pip python3-venv -y
python3 --version
pip3 --version
✓ You should see something like
command not found, Python isn't installed or isn't on your PATH. Try python3 instead of python. Create a virtual environment
recommendedWhy a virtual environment?
Without venv
Packages mix with system Python. Upgrades can break things.
With venv
Isolated folder. Easy to upgrade, easy to delete.
python3 -m venv esphome-venv
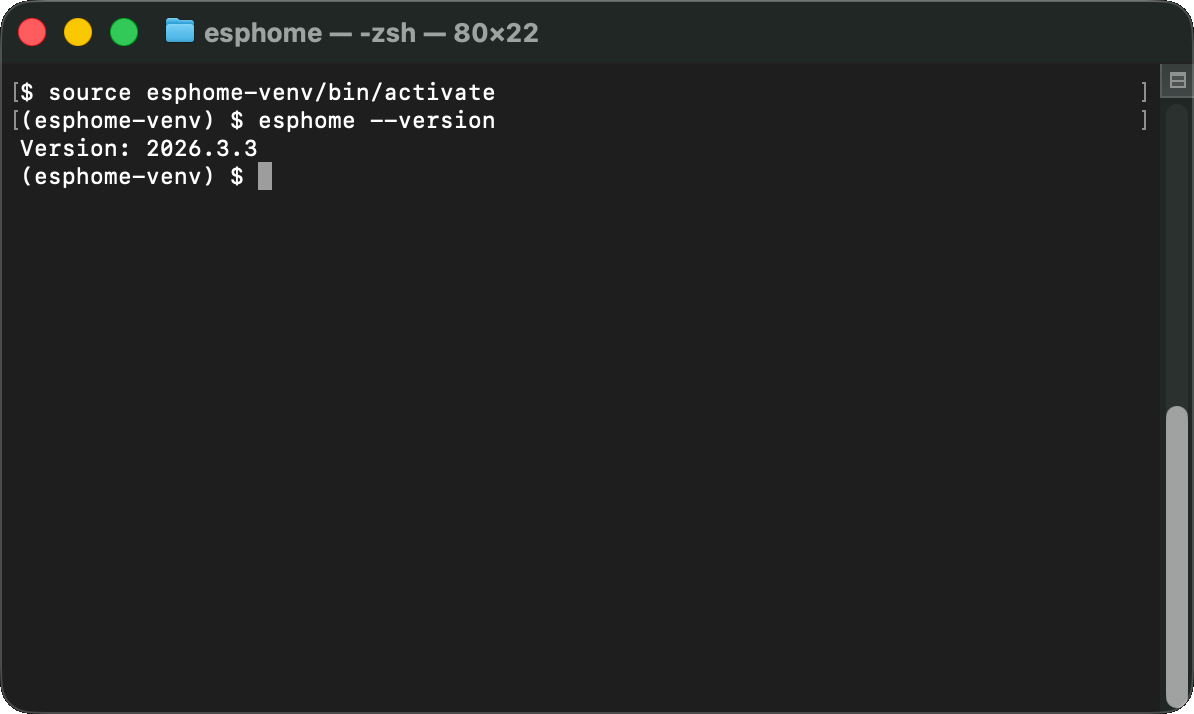
source esphome-venv/bin/activate✓ Your terminal prompt should change to
source esphome-venv/bin/activateInstall ESPHome
One command. Takes about a minute - pip downloads ESPHome and its build dependencies.
pip install esphome✓ You'll see output like this (condensed)
Collecting esphome
Downloading esphome-2026.3.3.tar.gz (420 kB)
Collecting platformio>=6.1 (from esphome)
Collecting voluptuous>=0.12 (from esphome)
... (more packages) ...
Successfully installed esphome-2026.3.3 platformio-6.1.15 ...
error: externally-managed-environment, you're not inside the venv. Run source esphome-venv/bin/activate first. Verify it works
esphome version✓ You should see
Your progress
0 / 4 steps completed
Bonus: open the visual dashboard
Same UI as the Home Assistant Add-on - but from your terminal.
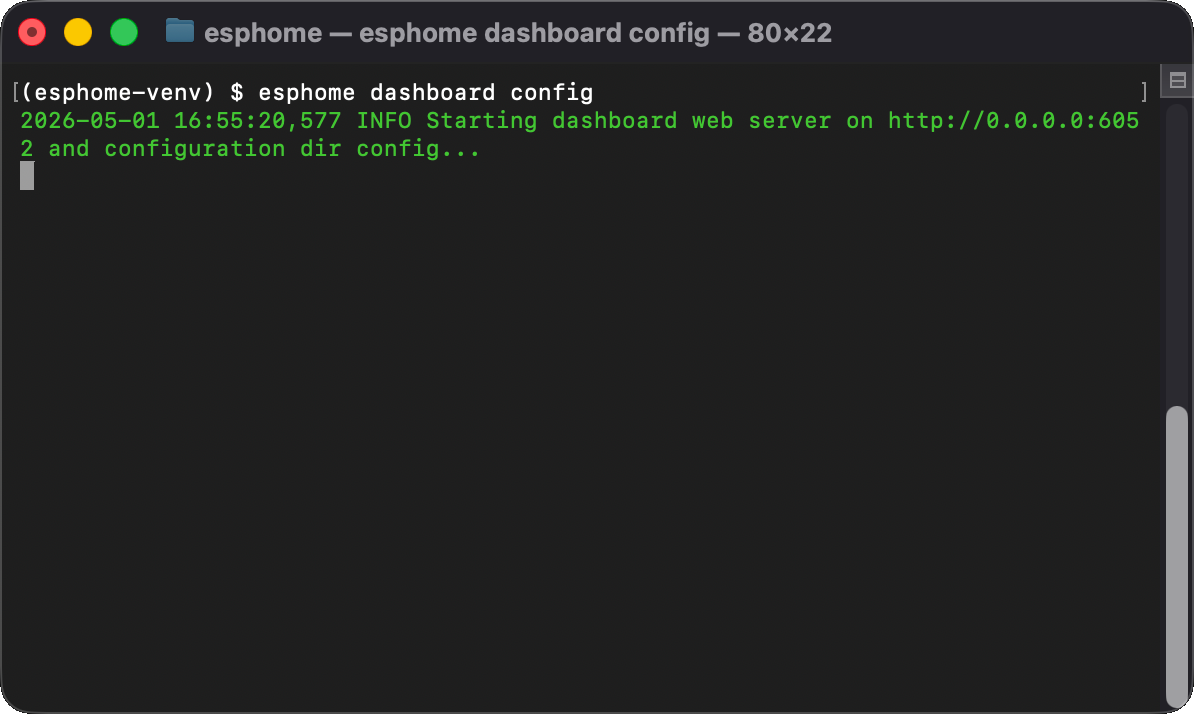
You don't have to use the CLI for everything. ESPHome includes a built-in web dashboard - the same one Home Assistant Add-on users get. Launch it with one command:
esphome dashboard configThen open http://localhost:6052 in your browser. You get a visual device manager with YAML editing, one-click flashing, live logs - everything.
CLI vs Dashboard - when to use which?
esphome run
Quick one-off flashes, CI/CD, scripts.
esphome dashboard
Visual editing, managing multiple devices, live logs.
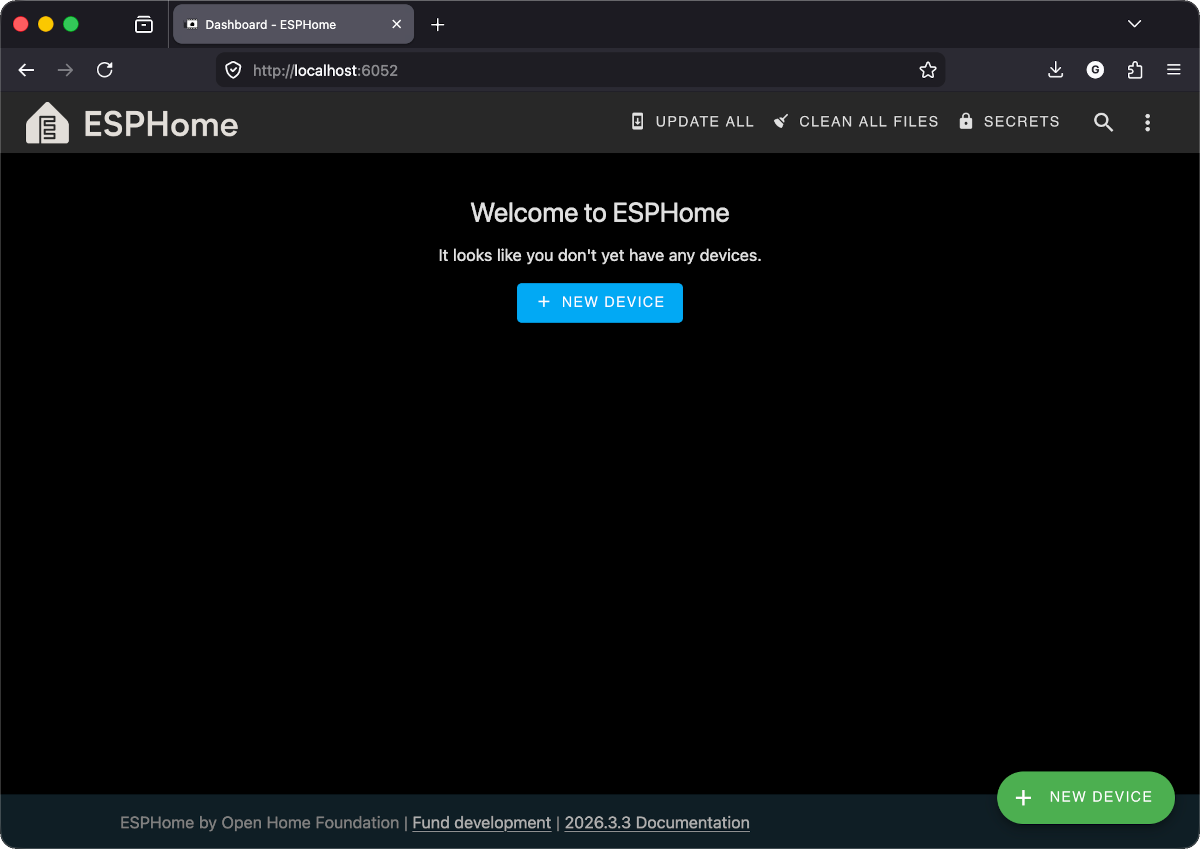
config argument is the folder where your YAML files live. The dashboard watches that folder and shows all .yaml files as device cards. Open the dashboard
You should see the ESPHome dashboard - an empty device list with a "+ New device" button at the bottom right. That's the same dashboard the Home Assistant Add-on users get.
Bookmark this
Every time you open a new terminal to work with ESPHome:
cd your-project-folder
source esphome-venv/bin/activate

# Option A: flash directly
esphome run my-display.yaml

# Option B: open the dashboard
esphome dashboard config
Always activate the venv first. If you see "command not found", the venv isn't active.
Checkpoint - Does esphome version print a version number?
If yes - perfect. ESPHome is on your PATH and ready to compile firmware. Time to flash your first device.