Docker
Run ESPHome in a Docker container - isolated, reproducible, no Python needed.
ghcr.io/esphome/esphome Official Includes
Python + toolchain
Dashboard
Built-in web UI
Host install
Nothing needed
Your platform
Networking flags differ between Linux and Windows/macOS.
Install Docker
Install Docker Engine. Then add yourself to the docker group so you don't need sudo:
sudo usermod -aG docker $USER
# Log out and back in for this to take effectdocker --version
docker run --rm hello-world✓ You should see
Run ESPHome
First, create a folder for your configs. Then pick how to run it:
mkdir -p esphome-configdocker run --rm \
--name esphome \
--net=host \
-v "$PWD/esphome-config:/config" \
-it \
ghcr.io/esphome/esphomeRuns in the foreground. Press Ctrl+C to stop. Good for trying things out - switch to Compose when you want it running permanently.
What each flag does (click to learn)
--net=host gives the container full LAN access including mDNS - this means OTA flashing and device discovery work exactly like a native install. ✓ You should see logs like
Starting ESPHome dashboard...
Loaded 0 device configs from /config
Dashboard is ready - http://0.0.0.0:6052
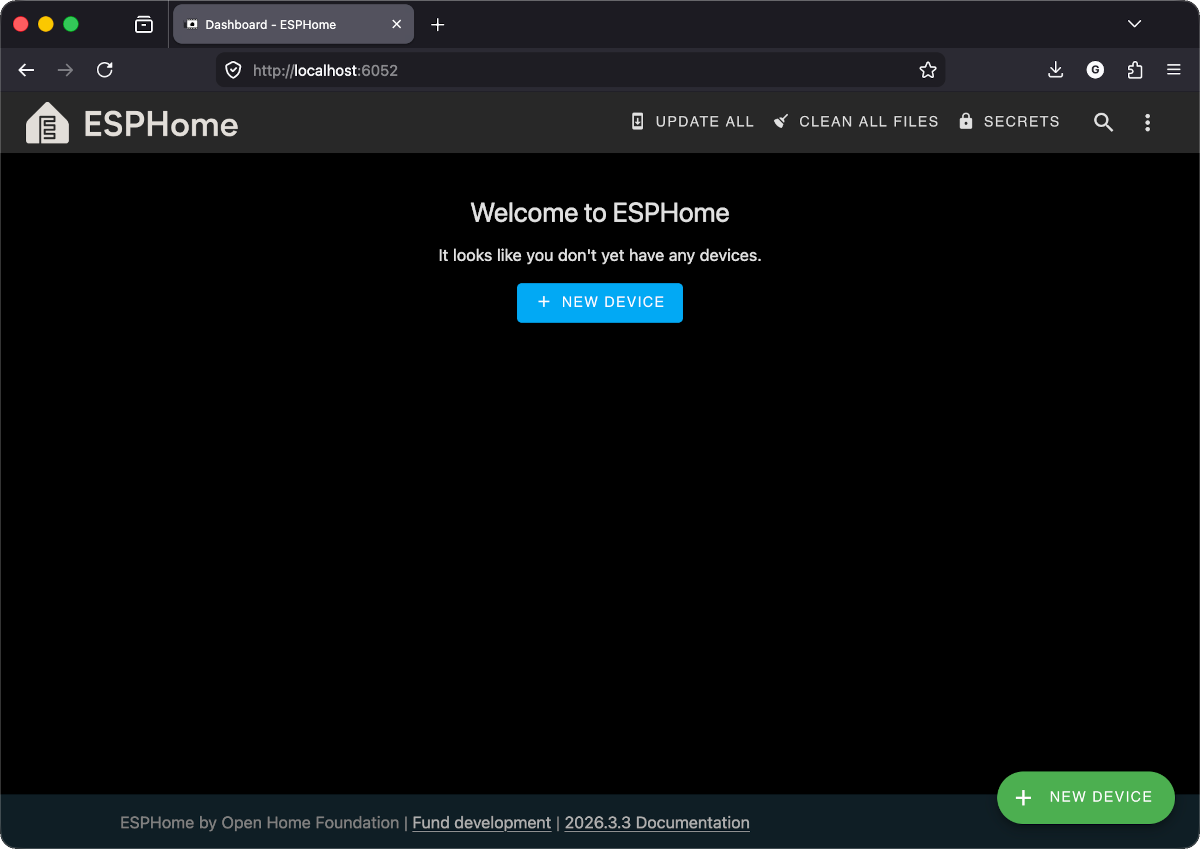
Open the dashboard
You should see the ESPHome dashboard - an empty device list with a "+ New device" button at the bottom right. That's the same dashboard the Home Assistant Add-on users get.
Heads up: USB flashing from Docker
The first flash must go over USB - OTA isn't available until ESPHome firmware is on the device. Docker needs access to the USB device for this.
Linux
Add --device=/dev/ttyUSB0 (or /dev/ttyACM0) to your docker run command. Check with ls /dev/tty*.
macOS / Windows
Docker Desktop can't pass through USB easily. Use web.esphome.io for the first flash instead - it runs in your browser via WebSerial. After that, all updates go over OTA through the Docker dashboard.
Your progress
Docker cheatsheet
docker compose up -dStart in the backgrounddocker compose downStop and remove the containerdocker compose logs -fStream live logsdocker compose pullPull the latest ESPHome imagedocker exec -it esphome bashShell into the running containerCheckpoint - Is the ESPHome dashboard reachable at localhost:6052?
If yes - you're done. Your configs live in the mounted folder and survive container restarts.