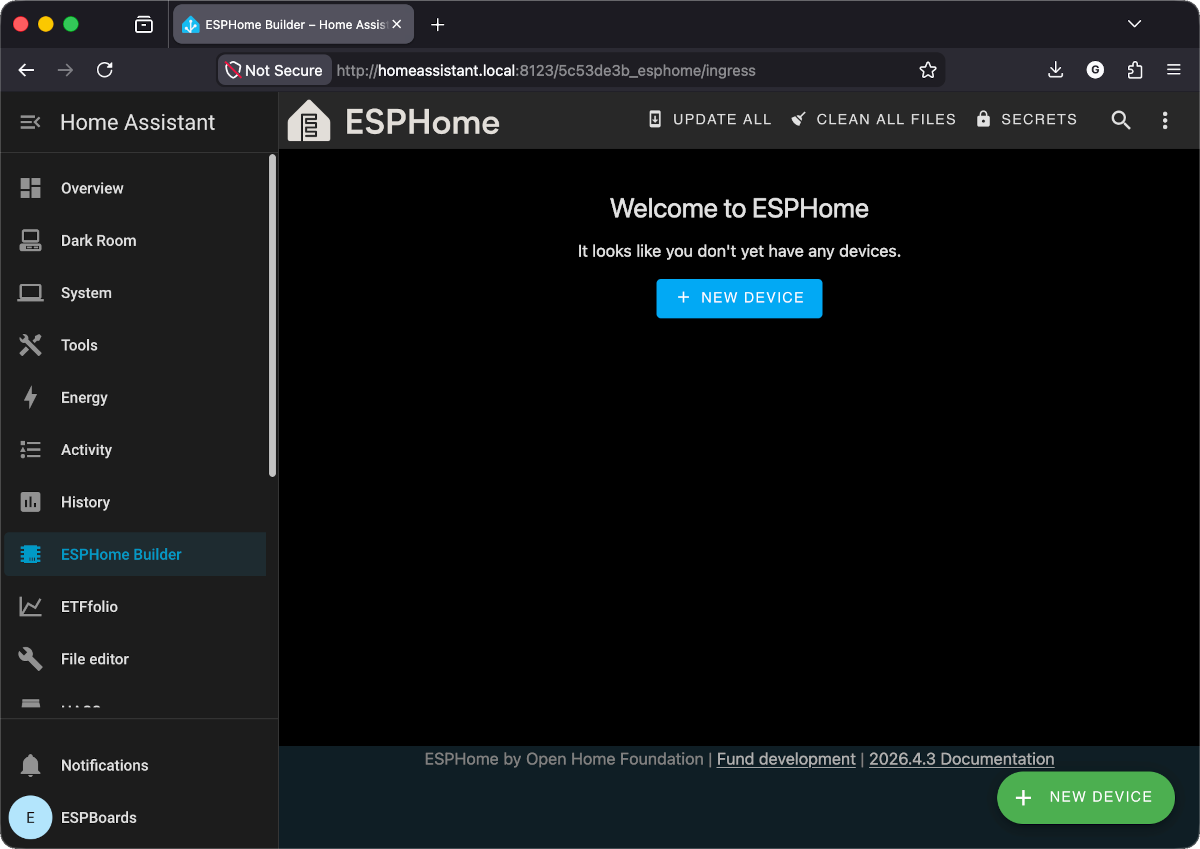
First Upload
Build a minimal YAML, flash your ESP32 over USB, and watch it appear on Wi-Fi.
Which board are you using?
All YAML and instructions adapt to your pick.
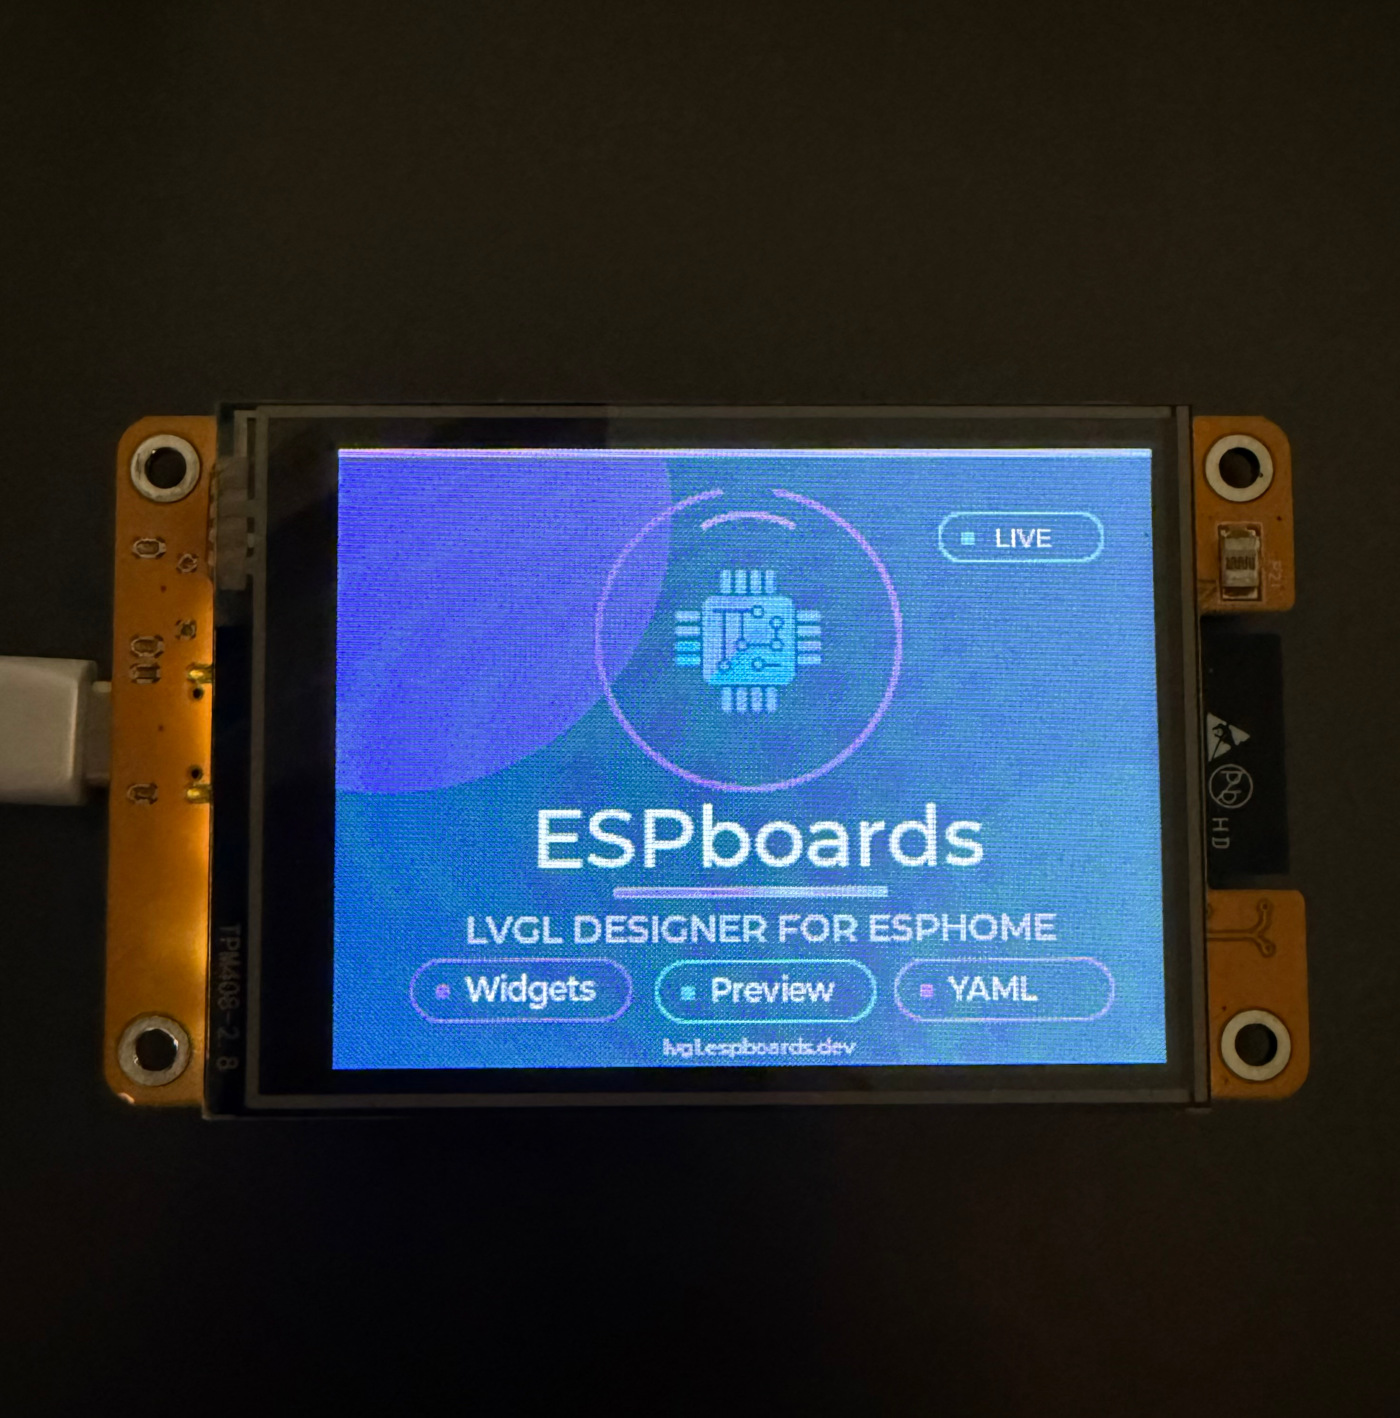
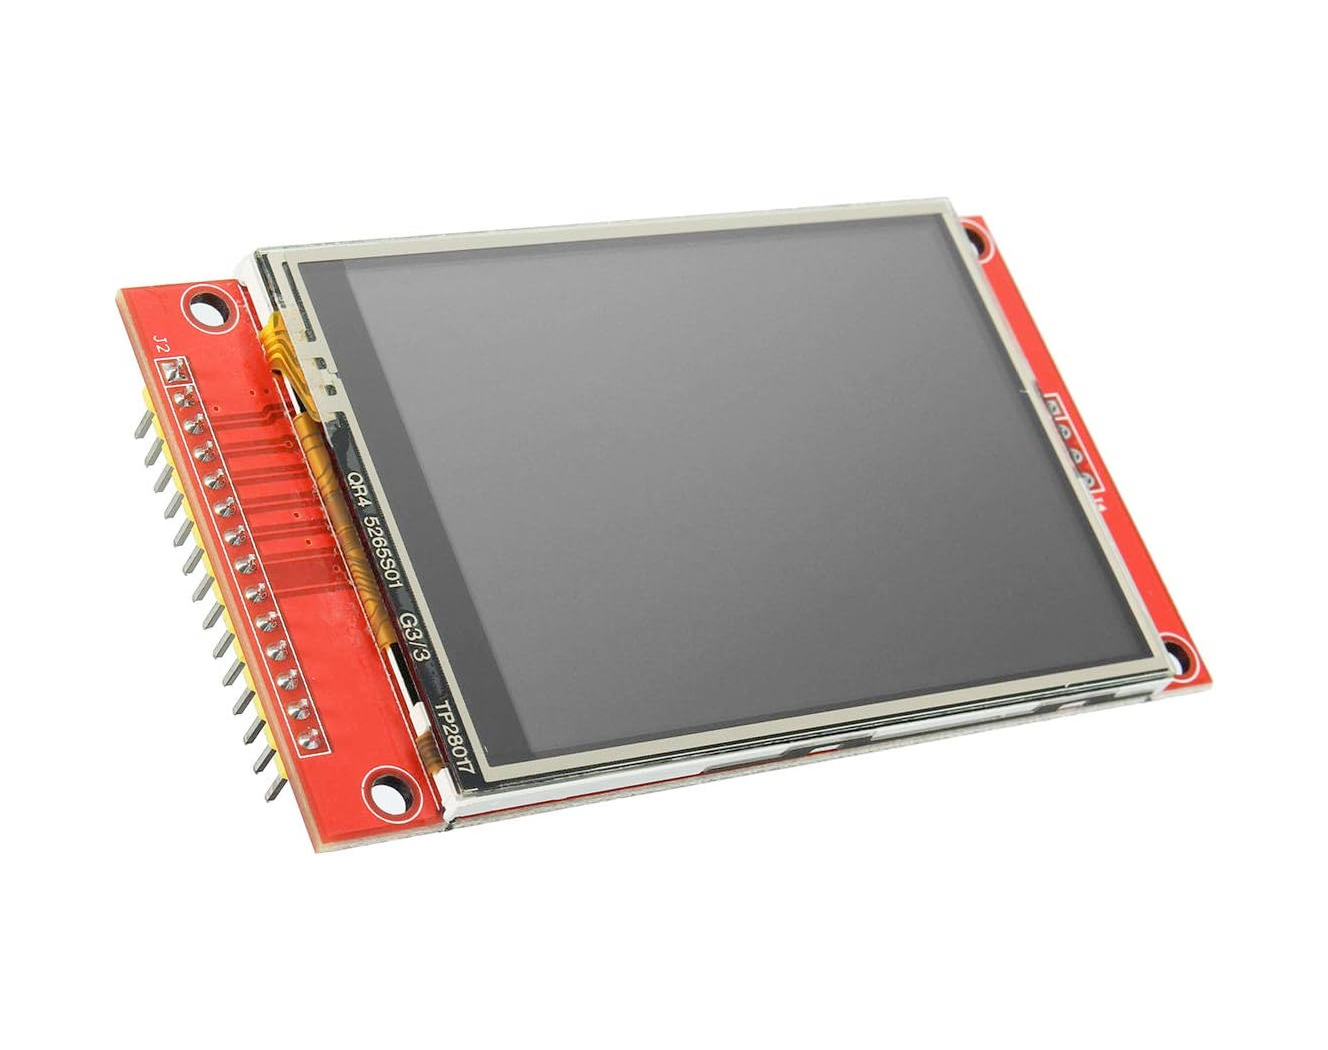
ESP32 + 2.8" TFT + touch. No wiring. Under $10.
Search "ESP32-2432S028"
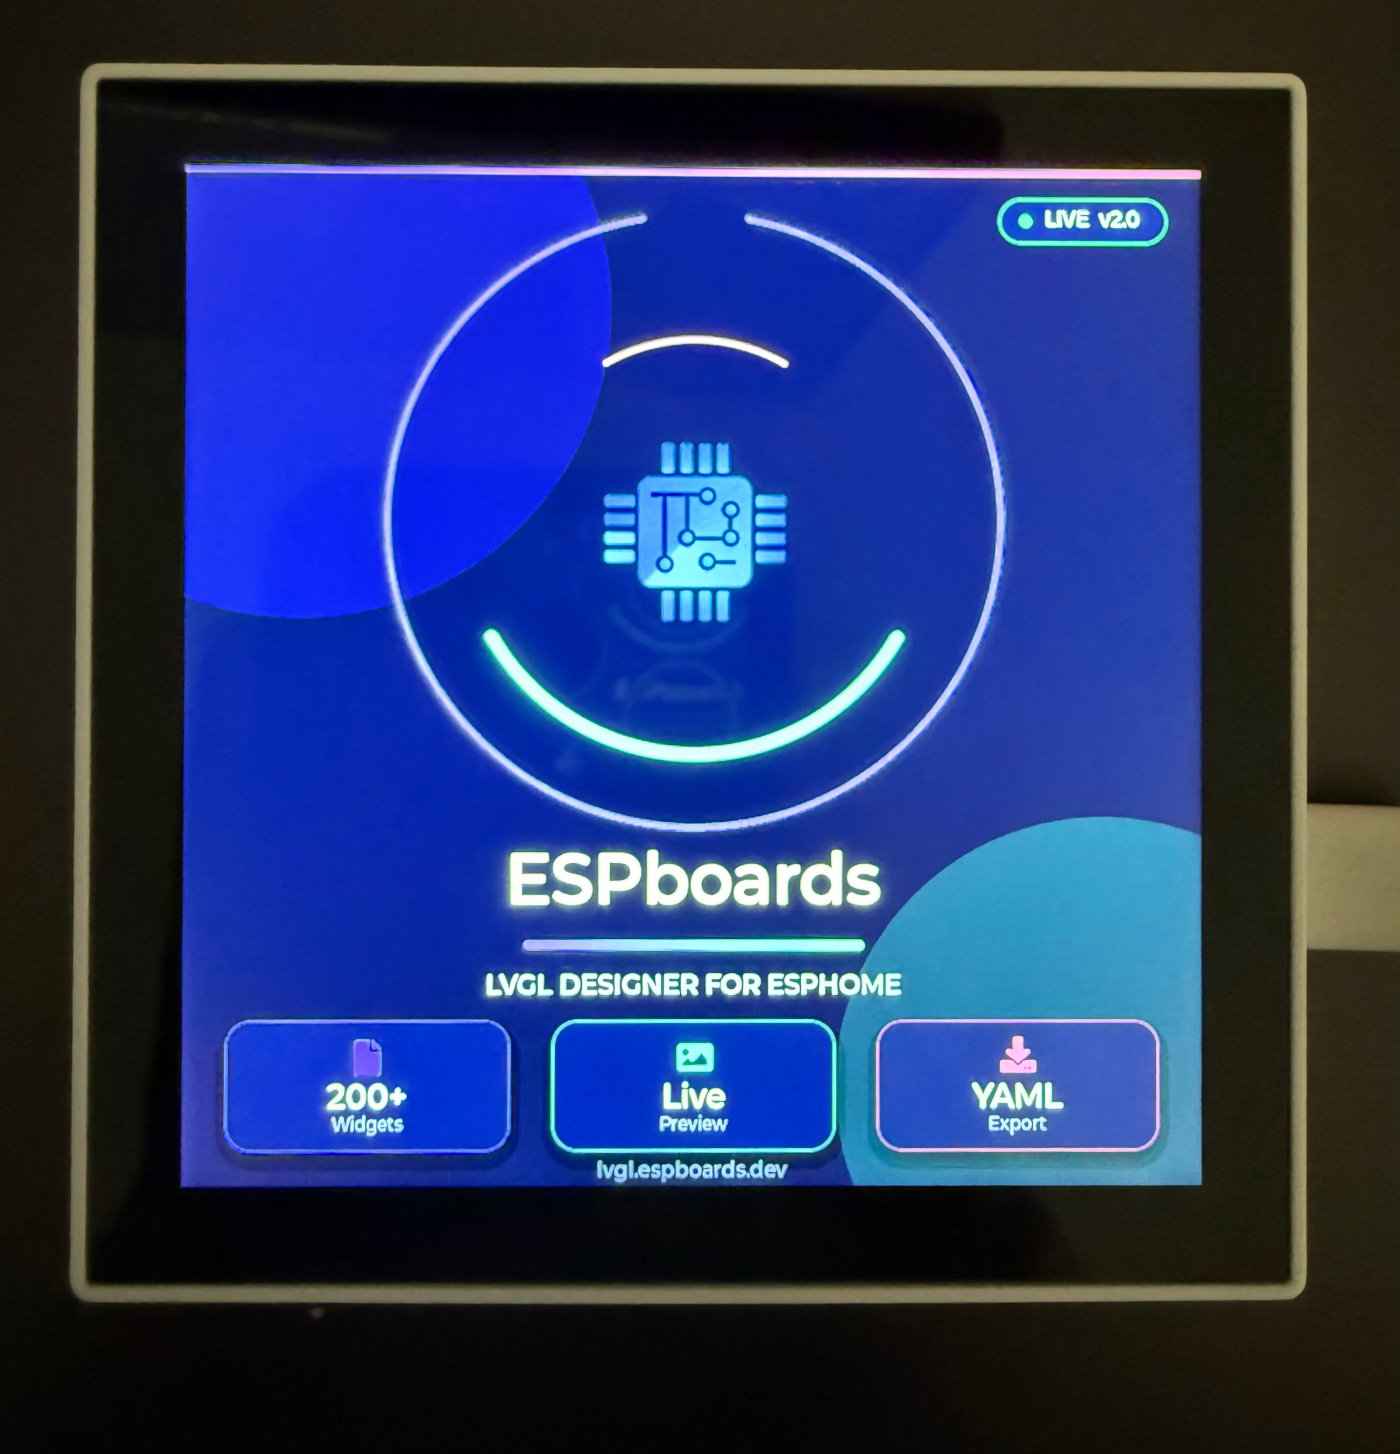
ESP32-S3 + 3.5" capacitive touch. USB-C. ~$20.
Search "WT32-SC01 Plus"
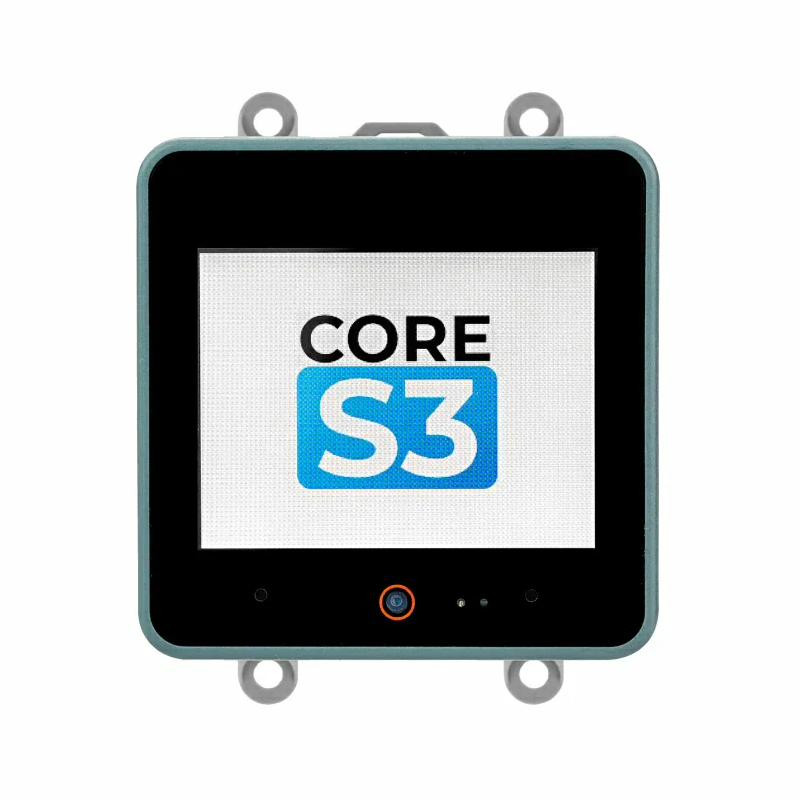
ESP32-S3 + 2" 320×240 IPS capacitive touch. AXP2101 power, USB-C, built-in IMU/mic/speaker. Premium all-in-one.
Search "M5Stack CoreS3"

ESP32-S3 (StampS3) 1.28" round GC9A01 touch display with a rotary encoder. Great for thermostats, knobs and dial UIs.
Search "M5Stack Dial"
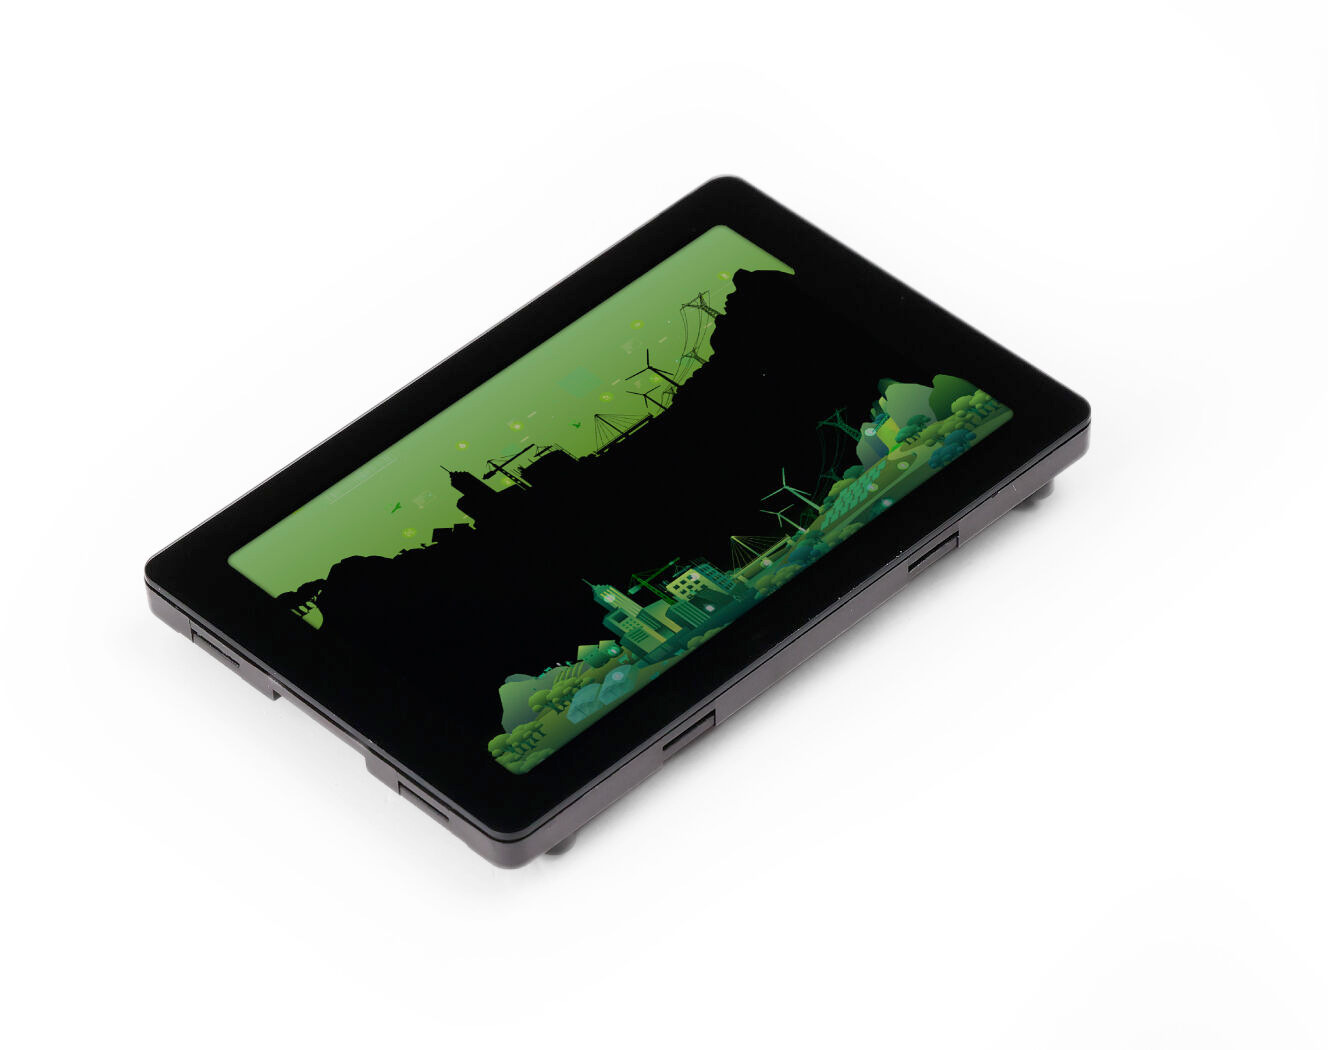
ESP32-P4 + 4" 720×720 MIPI-DSI + GT911 capacitive touch. WiFi 6 via ESP32-C6 co-processor.
Search "Waveshare ESP32-P4-WIFI6 Touch-LCD-4B"

ESP32-S3 + 1.54" 200×200 4-colour e-paper (black/white/red/yellow). LVGL drives the panel; refreshes when idle.
Search "Waveshare ESP32-S3-ePaper-1.54G"
Separate board + display. Requires 8 wires.
Any ESP32 DevKit + ILI9341 SPI module
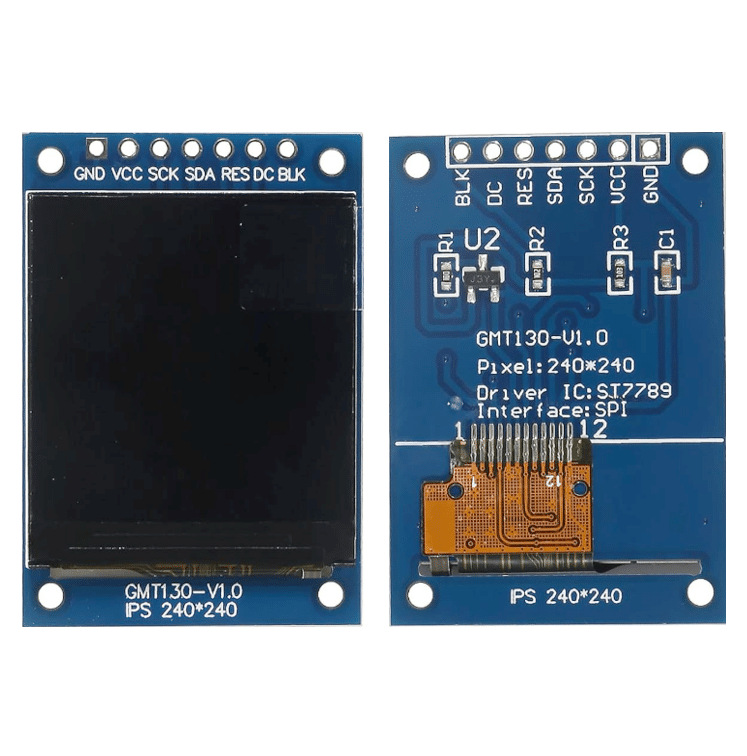
Separate board + small display. Compact builds.
Any ESP32 DevKit + ST7789 SPI module
Phase 1 of 2
Get the ESP32 online
No display yet - just Wi-Fi + API. By the end your device says ONLINE.
Click + NEW DEVICE
Green button, bottom-right corner of the ESPHome dashboard.
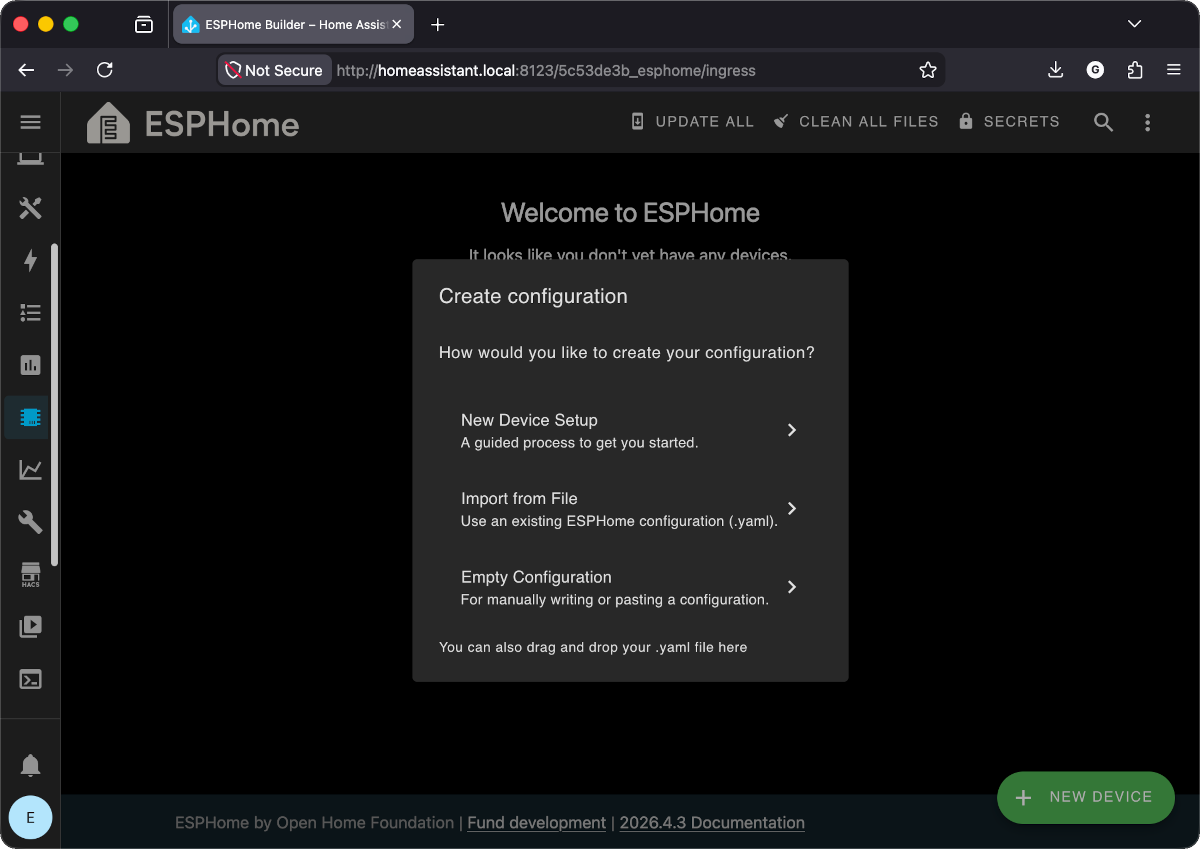
Choose New Device Setup
The guided wizard. You can also use "Empty Configuration" and paste YAML directly.
Enter name + Wi-Fi credentials
Type device name, Wi-Fi SSID, and password. Click NEXT.
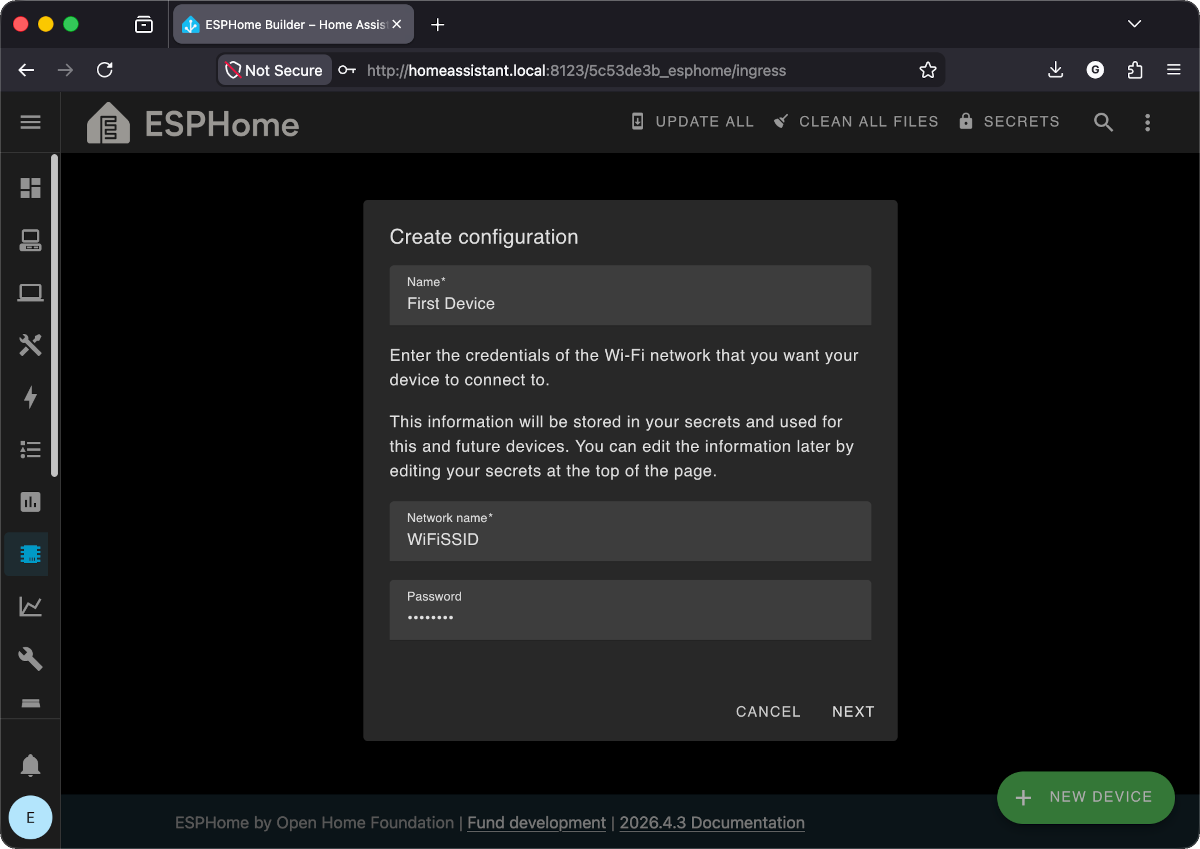
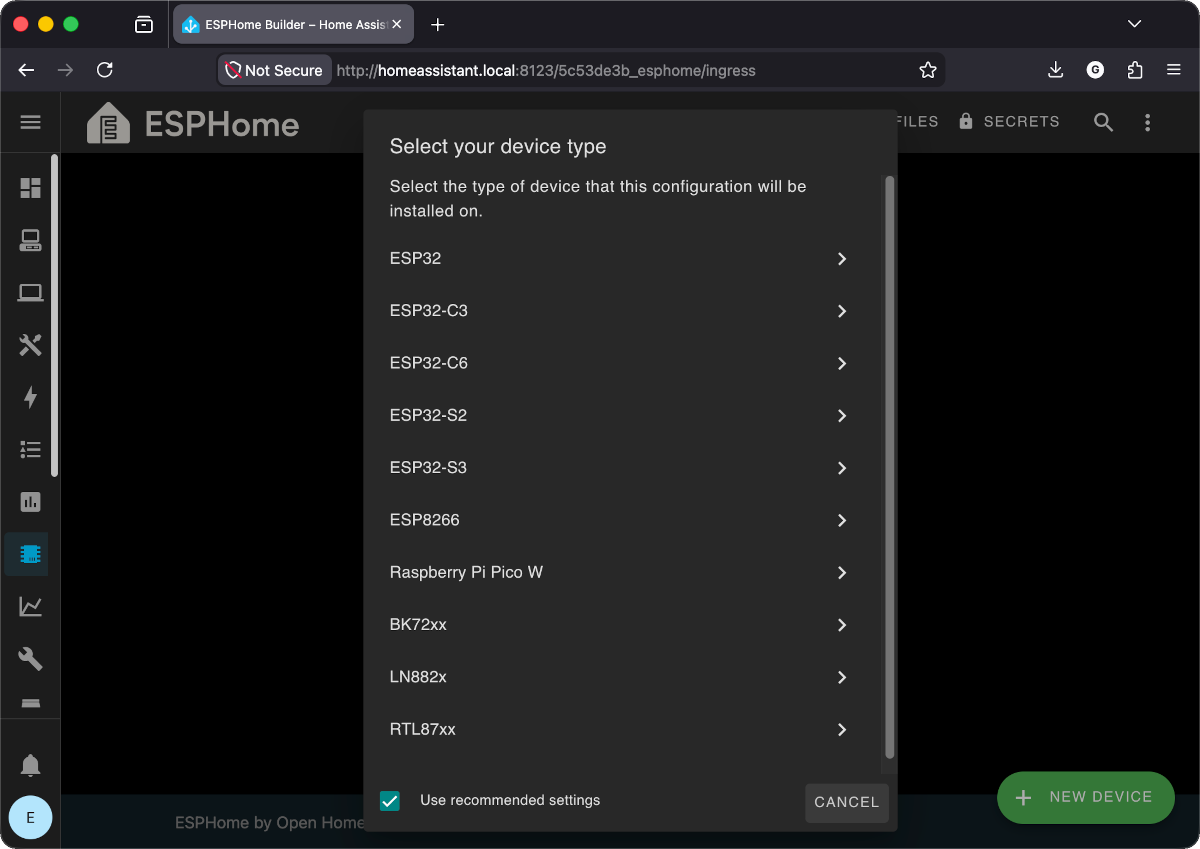
secrets.yaml. Edit anytime via SECRETS in the top bar.Select device type: ESP32
Pick ESP32 for your Cheap Yellow Display (CYD). Leave "Use recommended settings" checked.
Configuration created - click INSTALL
You will see a celebration screen with an encryption key. It is auto-saved. Click INSTALL.

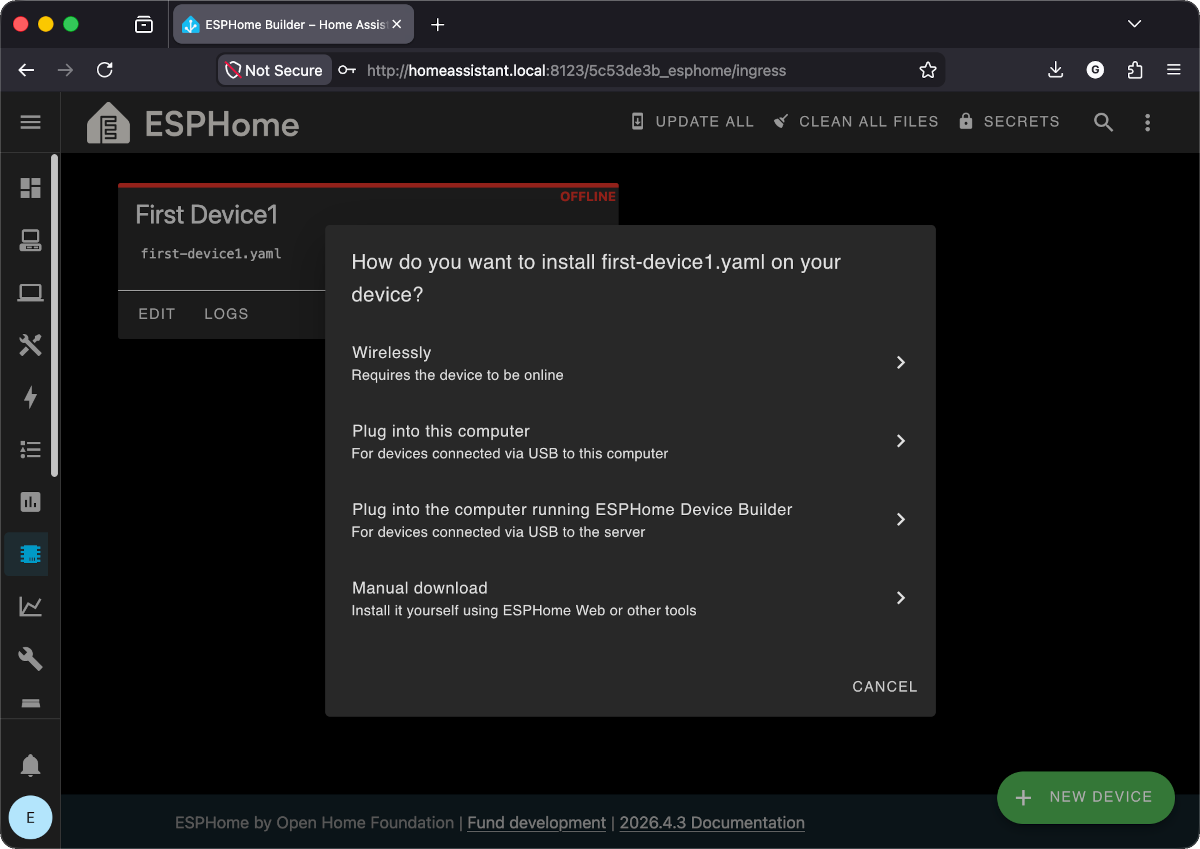
Choose how to flash
Pick "Plug into this computer" or "Plug into the computer running ESPHome Device Builder".
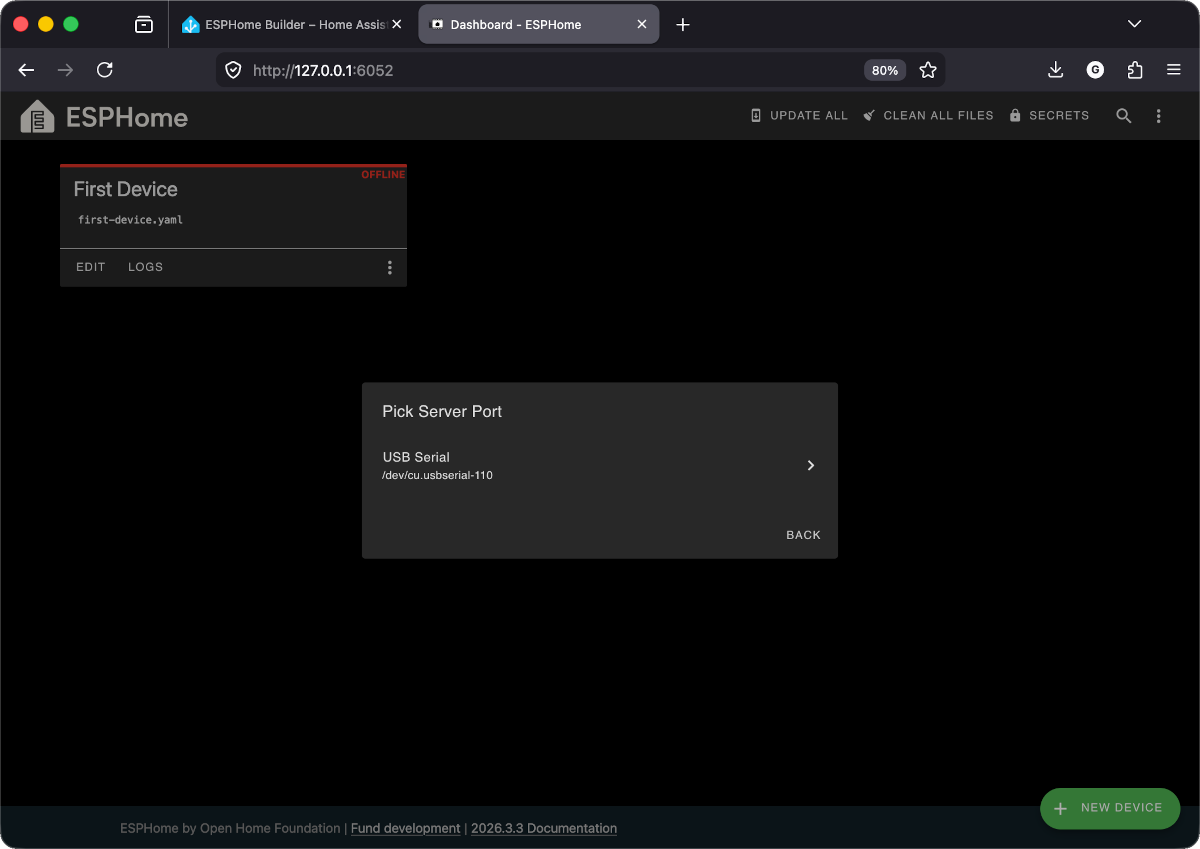
Pick the serial port
ESPHome detects your ESP32. Click the USB Serial device listed.
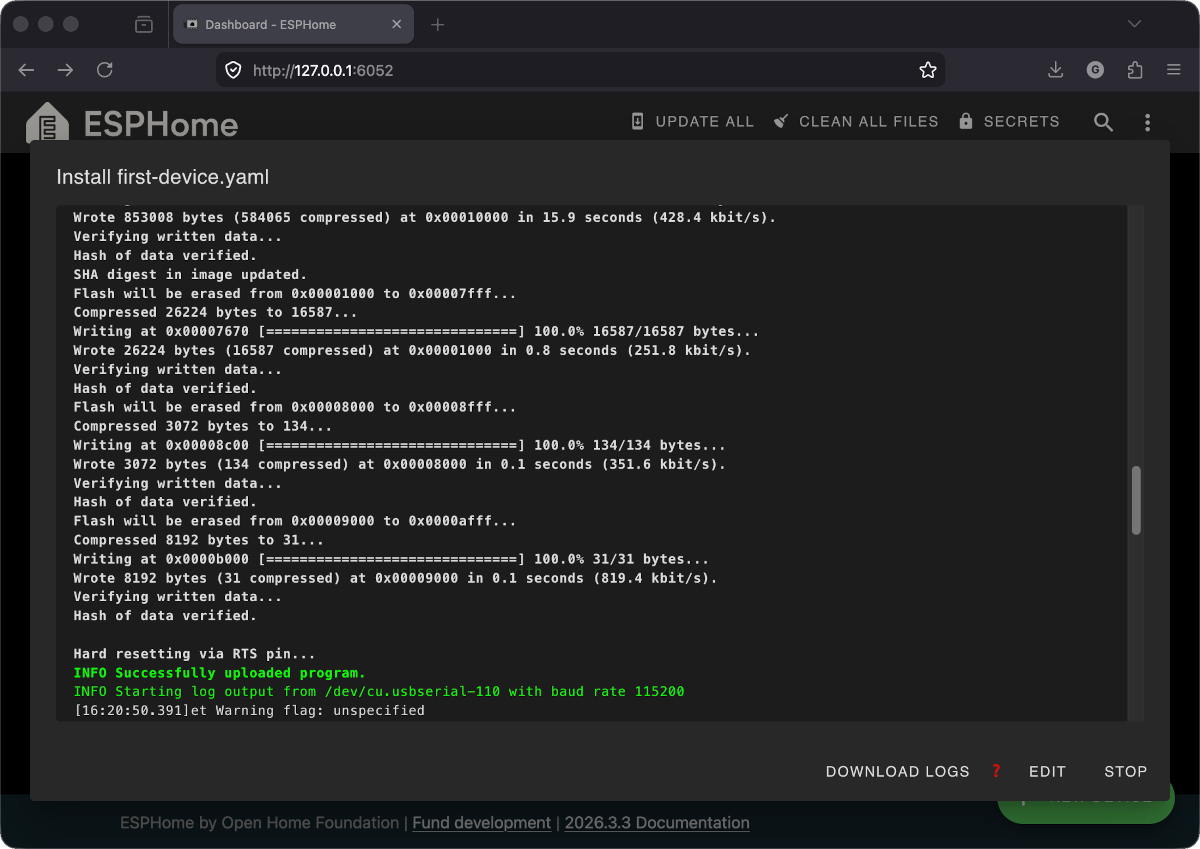
Wait for compile + upload
First time takes about 2 minutes. Watch for the green "INFO Successfully uploaded program." line.
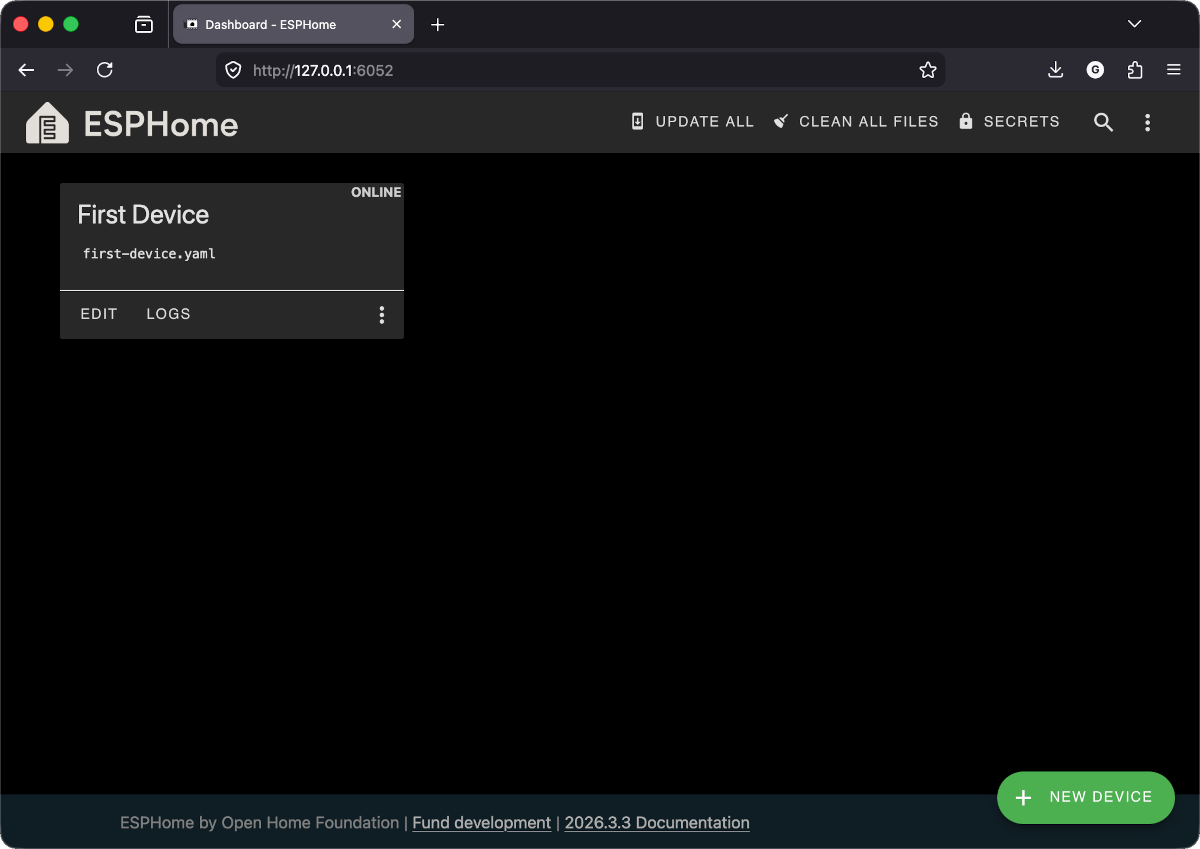
Your device is ONLINE
Dashboard shows ONLINE in green.
Don't see a port?
Run ls /dev/ttyUSB* /dev/ttyACM* - usually /dev/ttyUSB0.
[I][wifi]: WiFi Connected!
[C][wifi]: SSID: 'YOUR_WIFI_SSID'
[C][wifi]: IP: 192.168.1.42
[I][api]: Client connected ✓